Connect your existing docs to the AI editor
Step 1: Click "Connect your own docs"
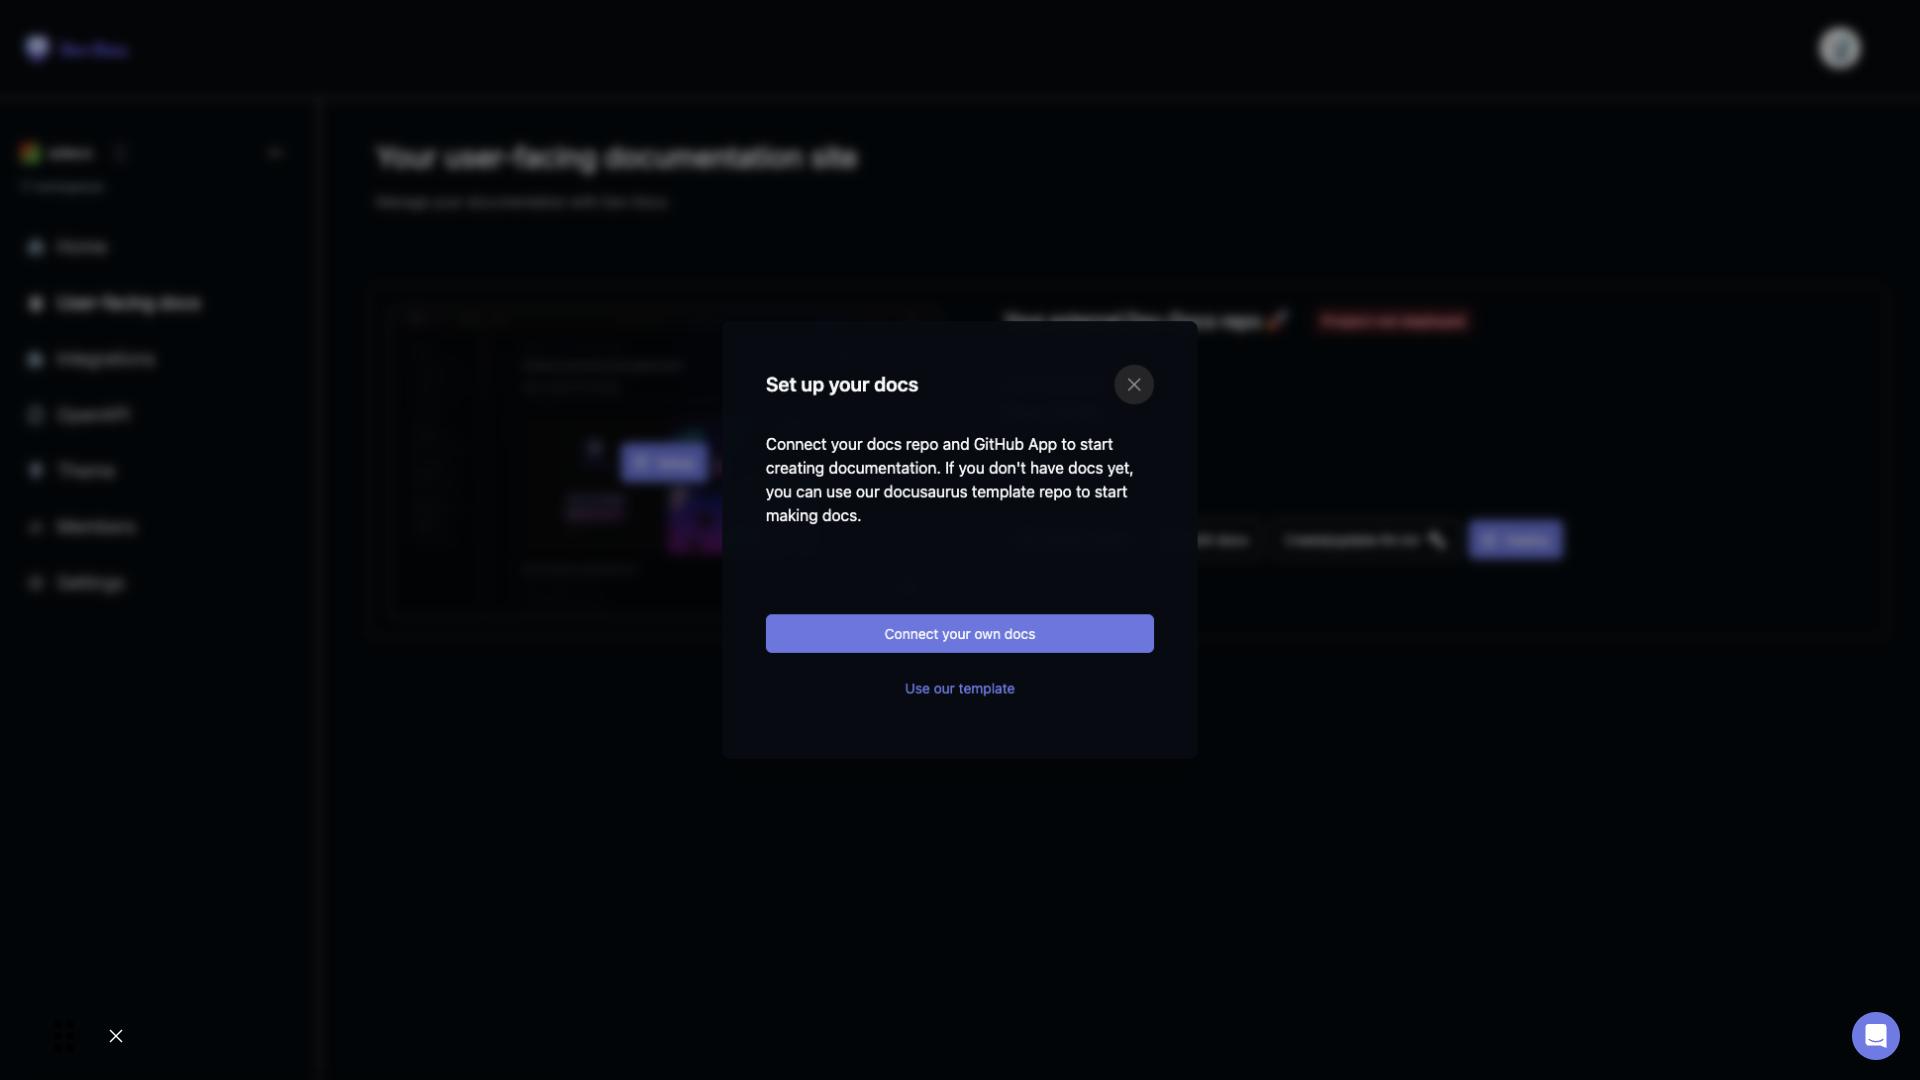
Back in Dev-Docs, you'll see a prompt to set up your docs. Click "Connect your own docs" to proceed.
Step 2: Set up User-Facing Docs by installing the GitHub App
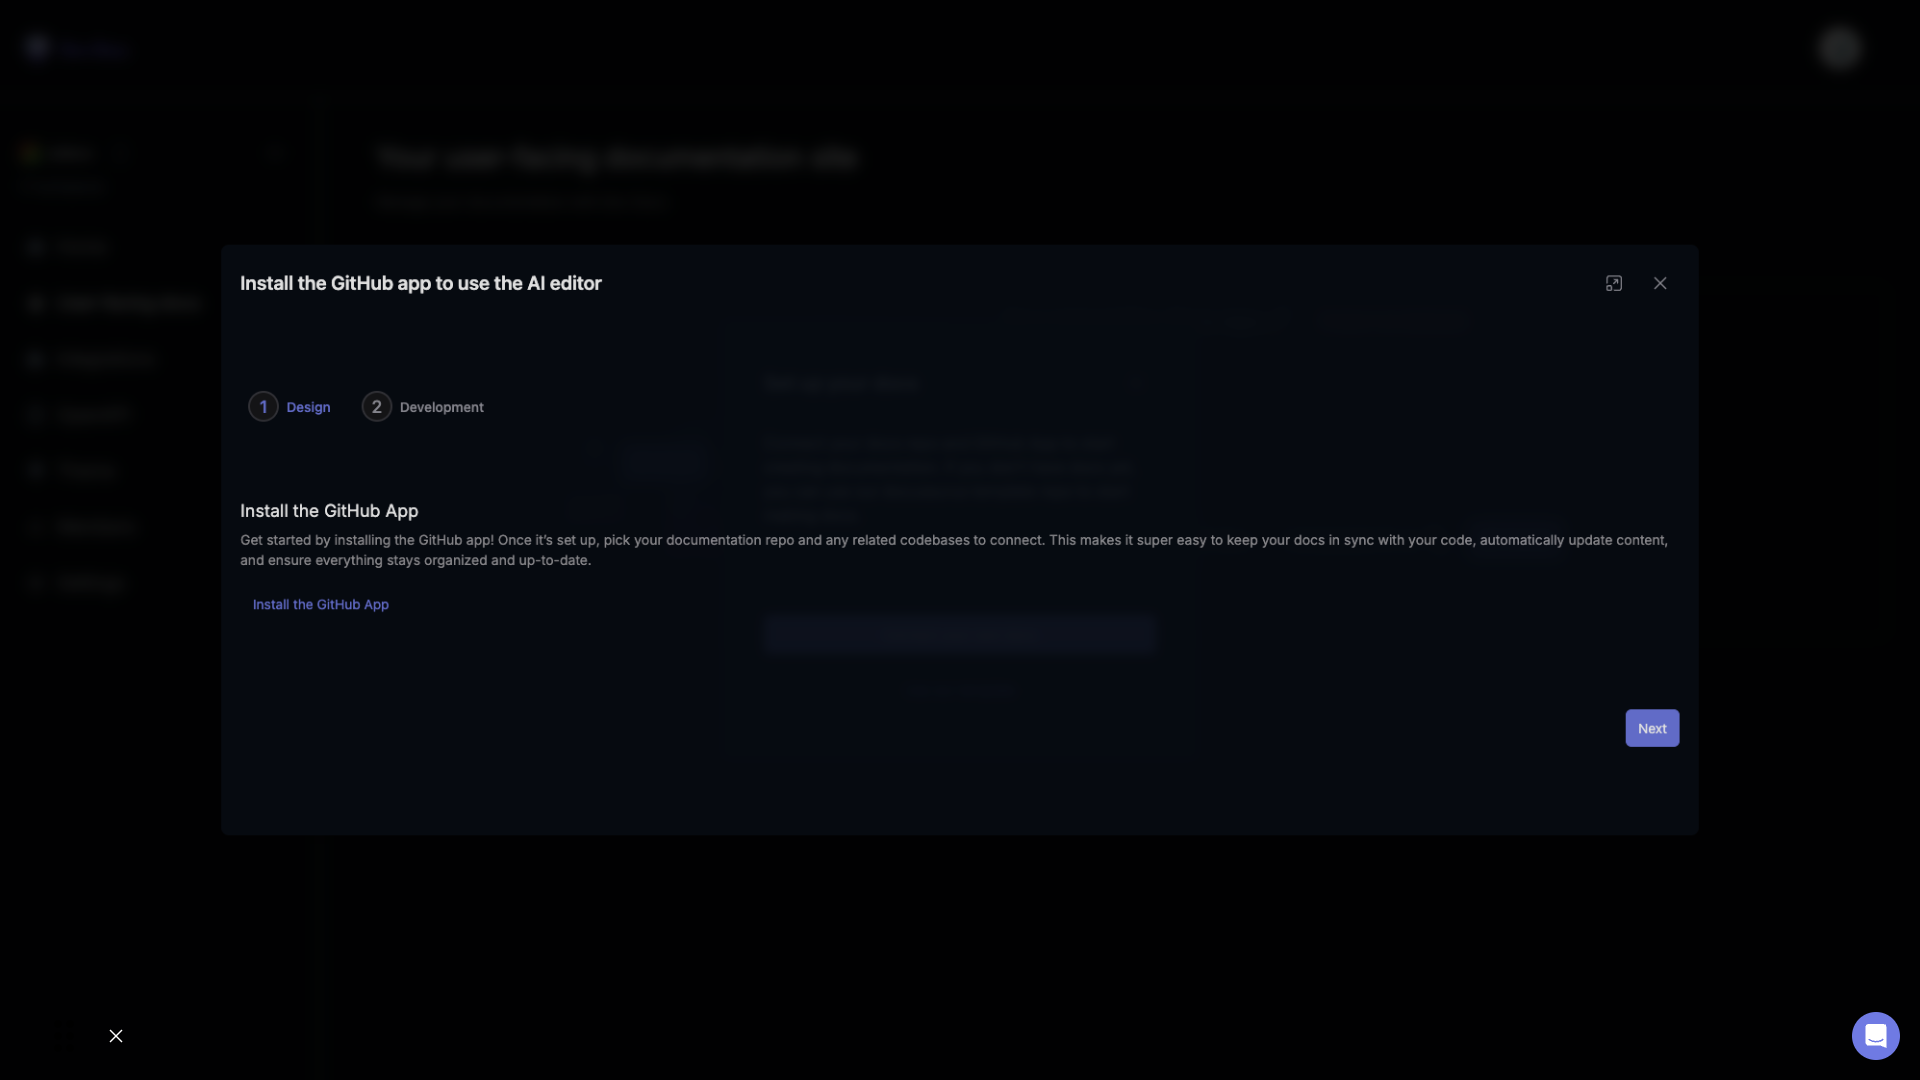
Click on "install the GitHub App" to begin the integration process.
Step 3: Confirm repository selection in GitHub
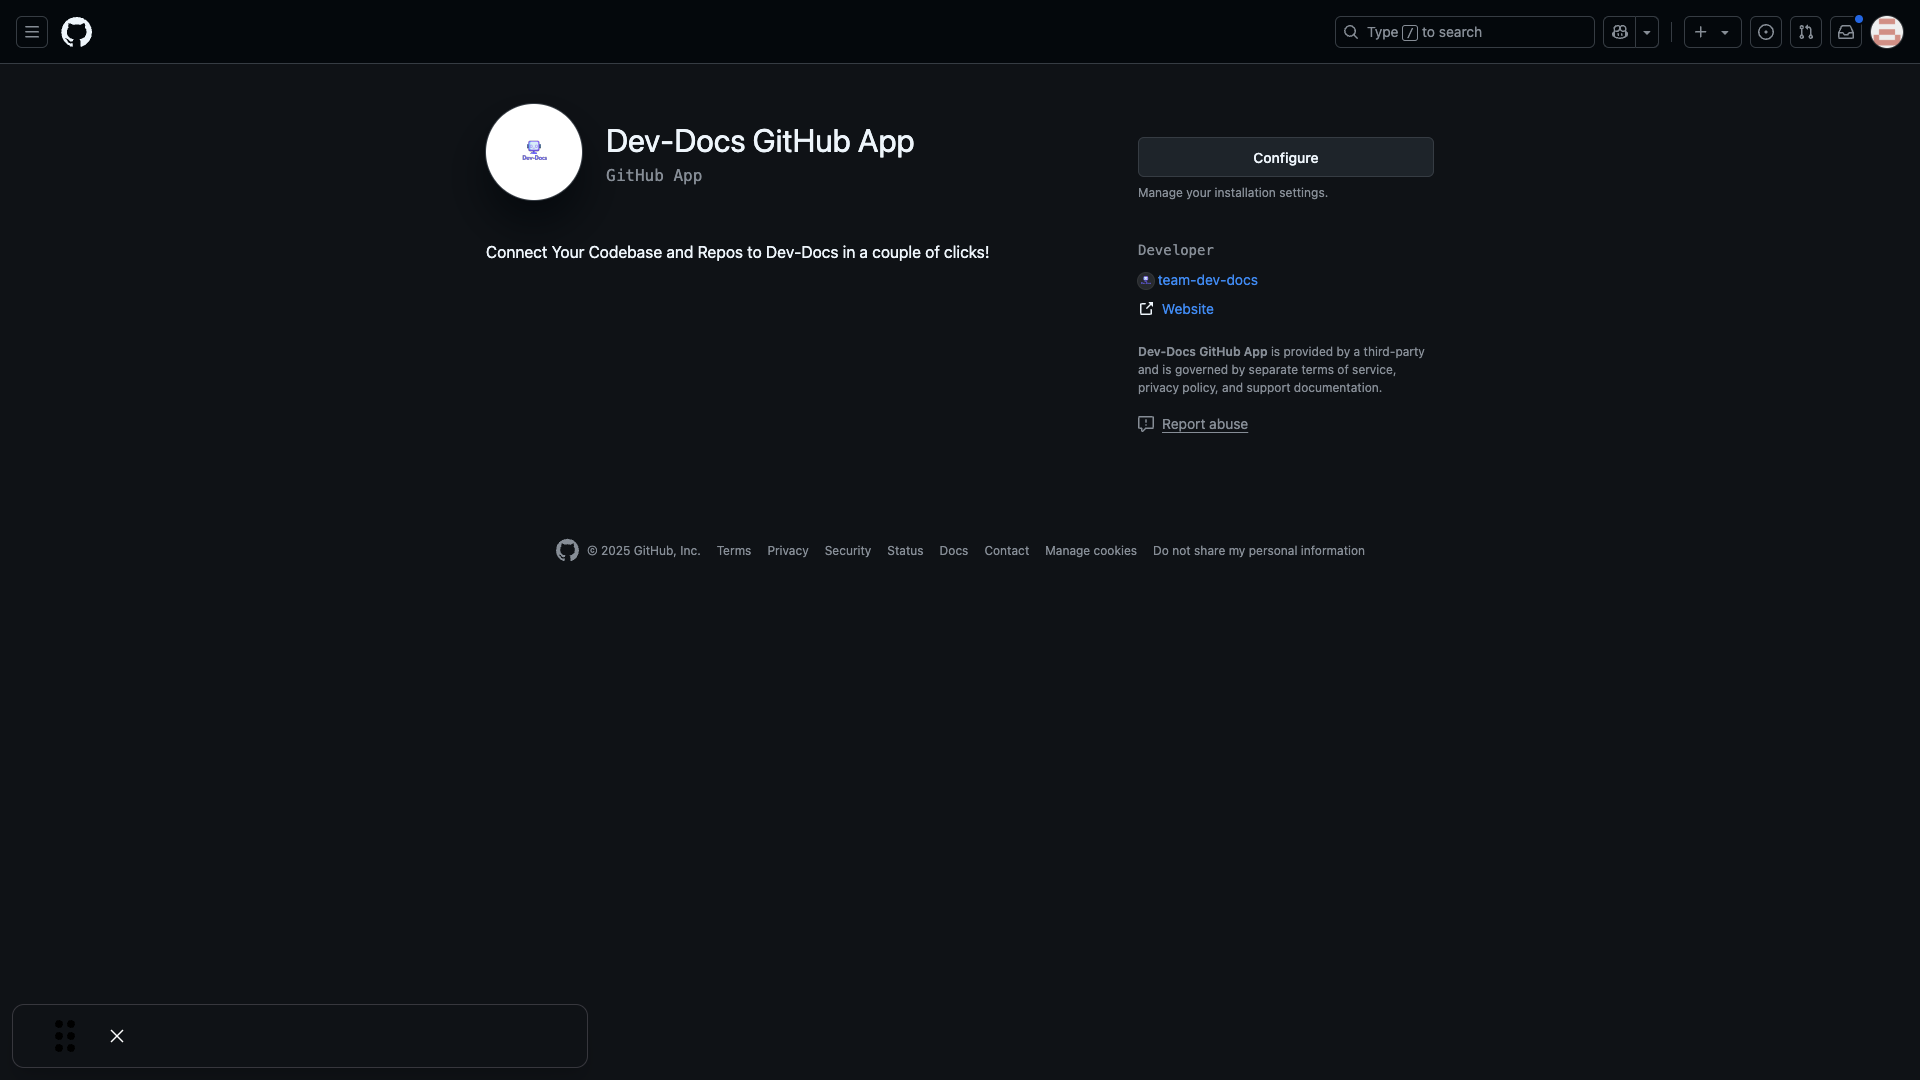
Click "Install" or "Configure" if you have installed the app already.
Step 4: Select your GitHub account or organization
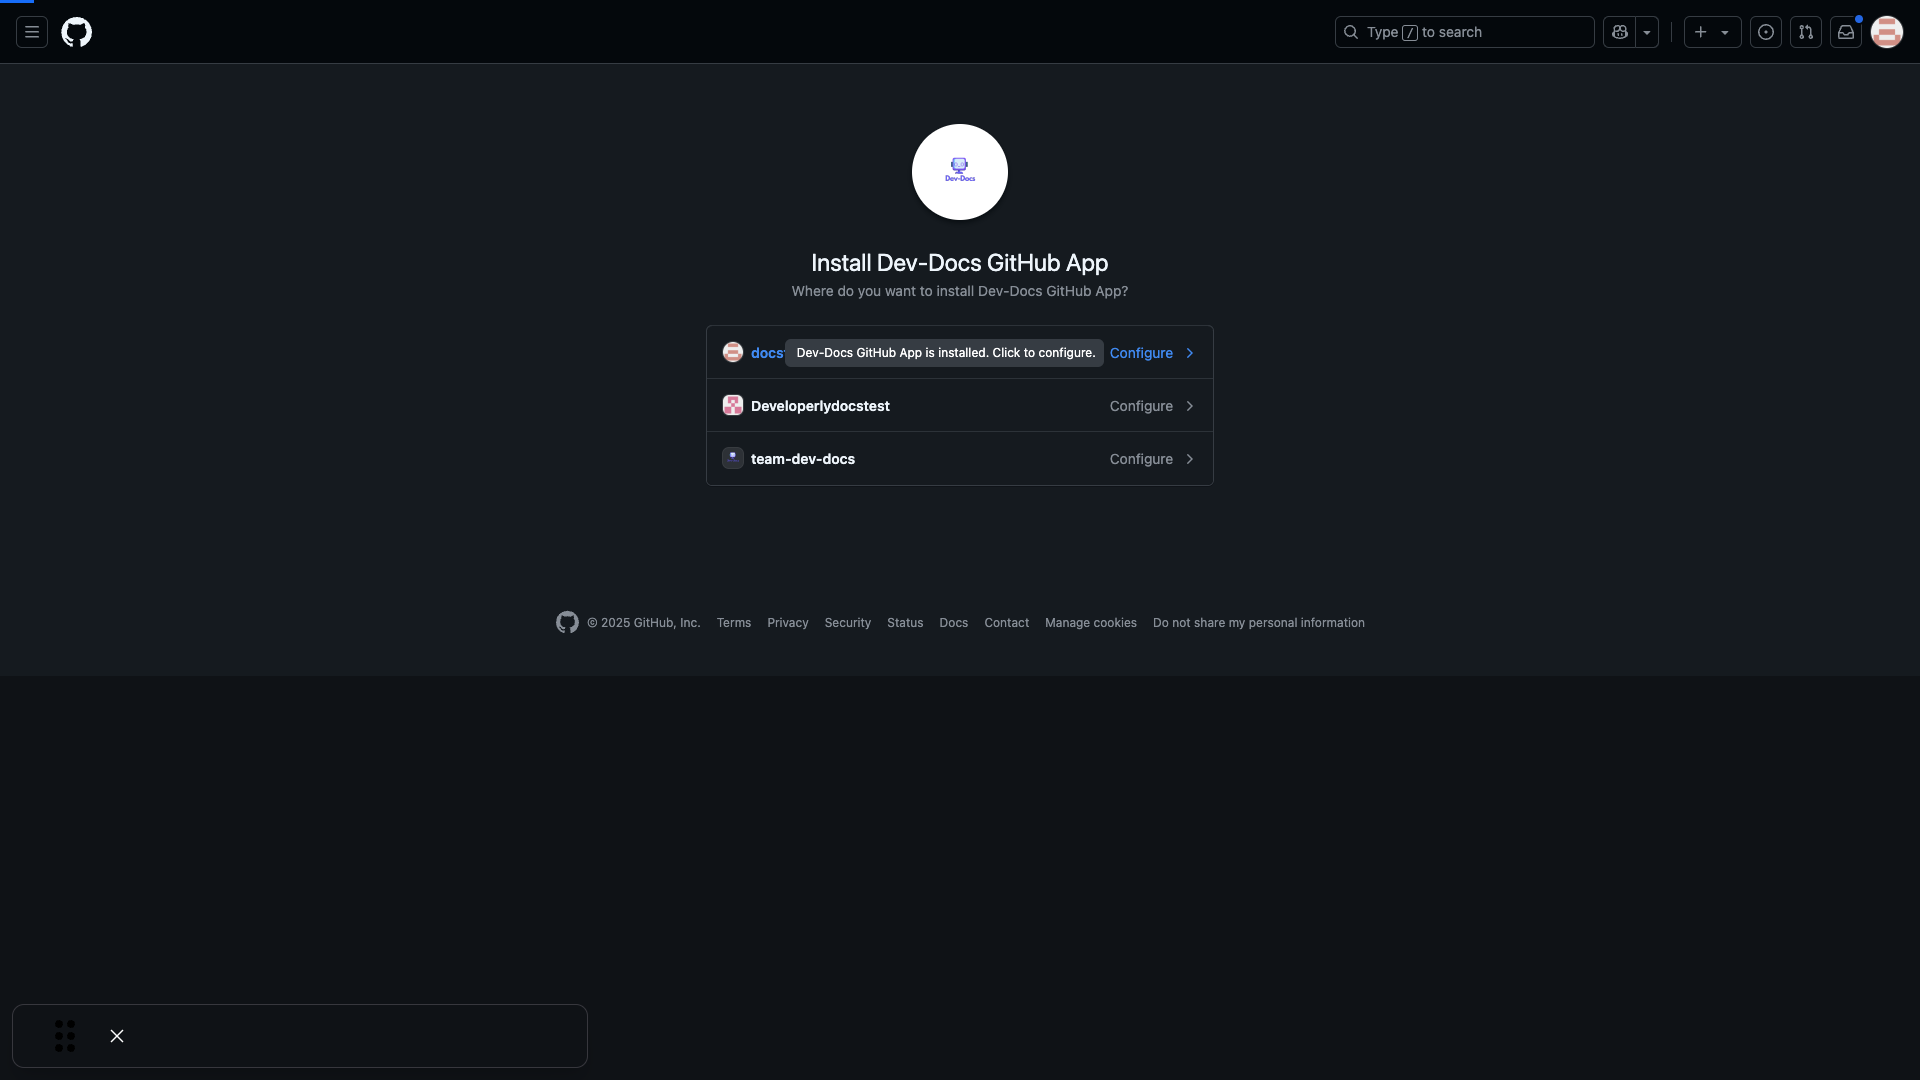
Choose the GitHub account or organization where you want to install the app.
Step 5: Add and select your documentation repository

From the dropdown, find your docs repository. Be sure to select it and click "Save".
Step 6: Associate your repository with your Dev-Docs organization
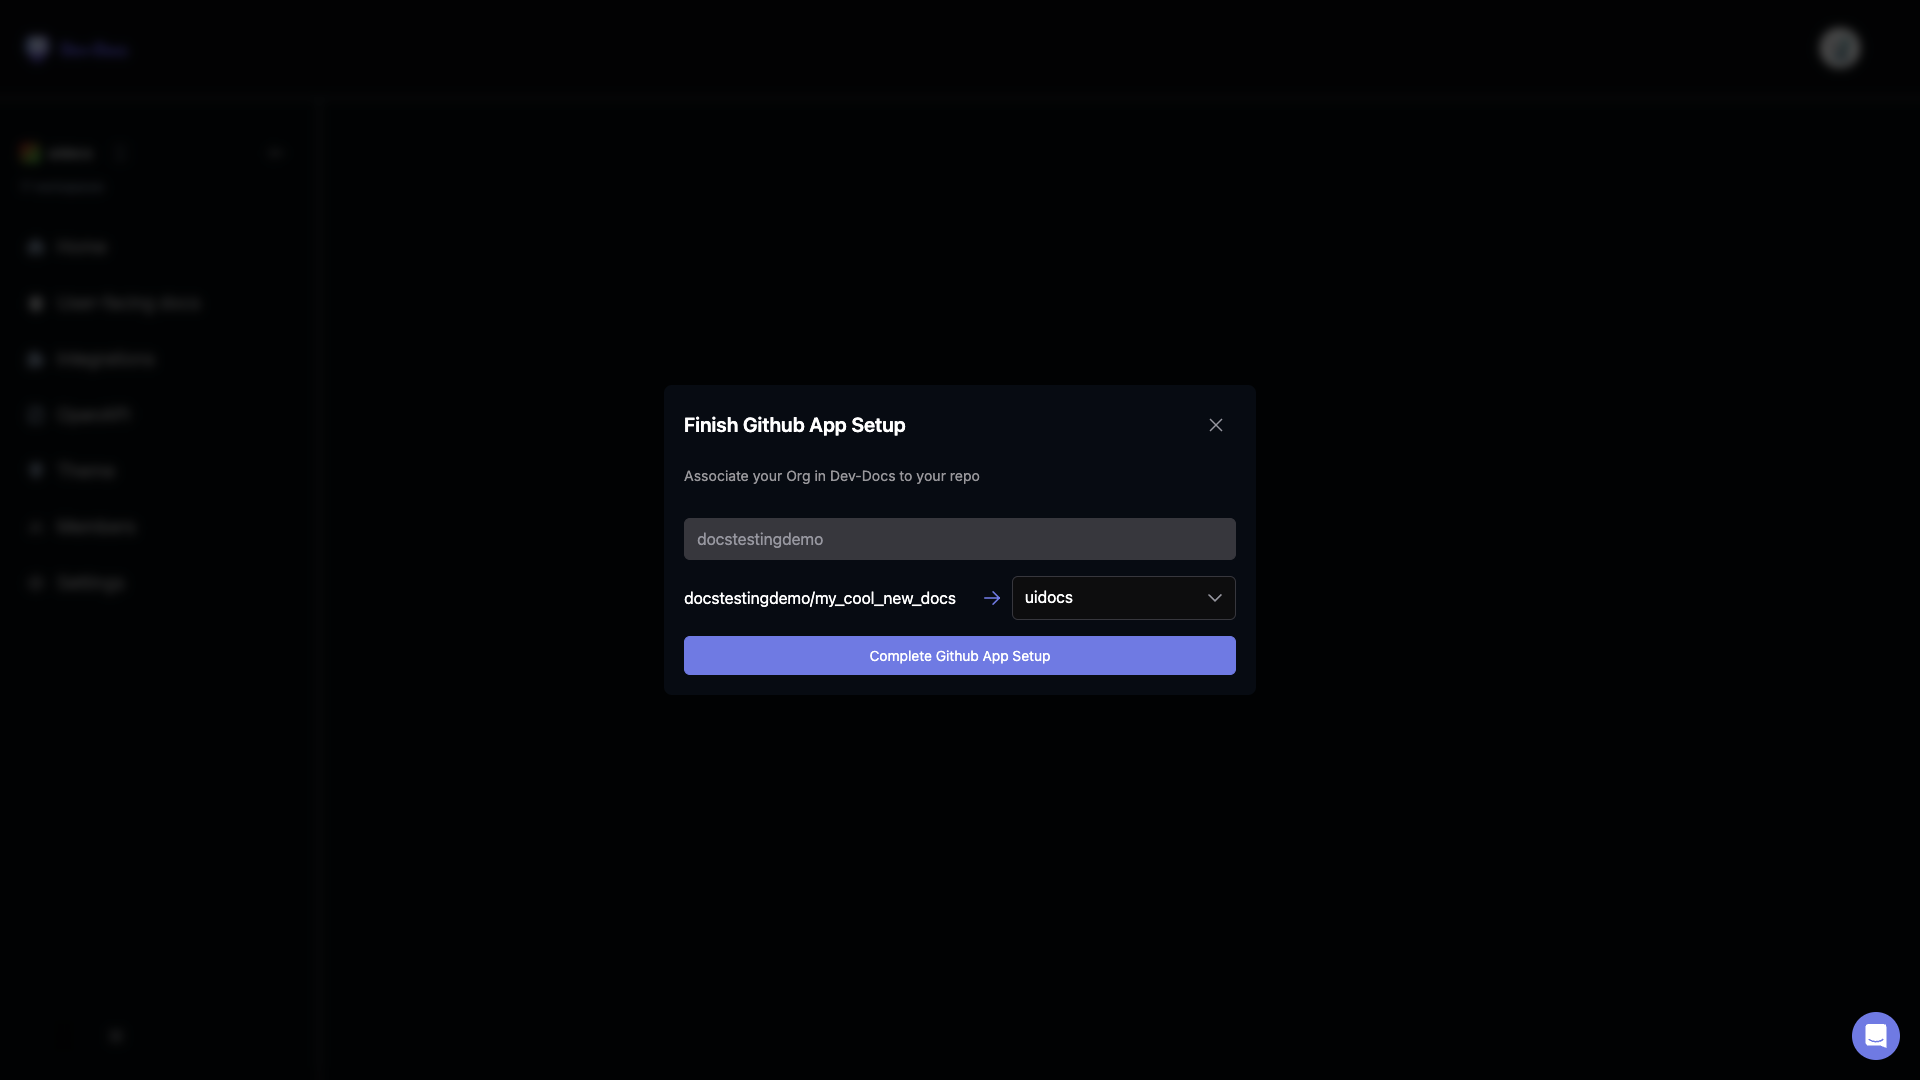
Verify that your repository name matches your desired Dev-Docs organization and click "Complete GitHub App Setup".
Step 7: Set your documentation repository in Dev-Docs
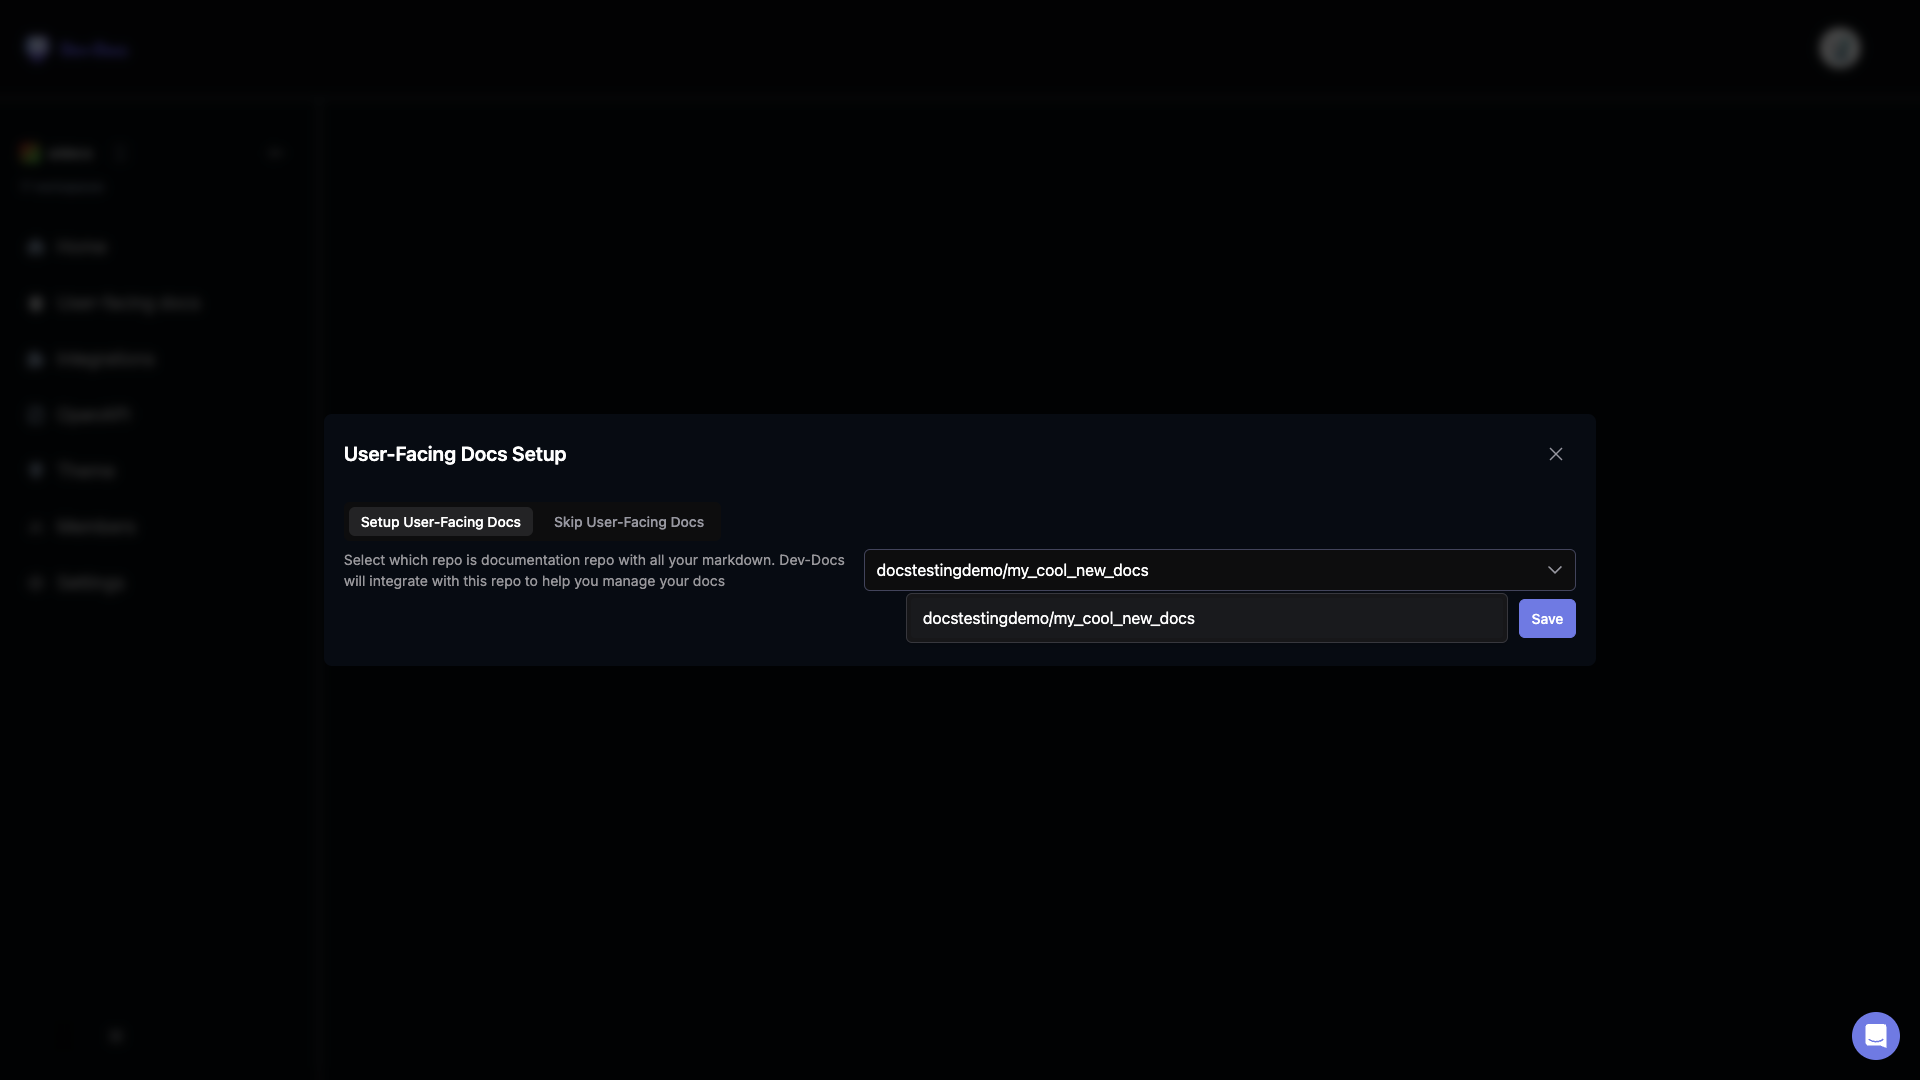
You should now see a dialog prompting you to select your documentation repository. Choose the one we set up from the dropdown. This step informs Dev-Docs where your documentation lives and where the Dev-Docs editor should connect.
Step 8: Access the AI editor for your new docs
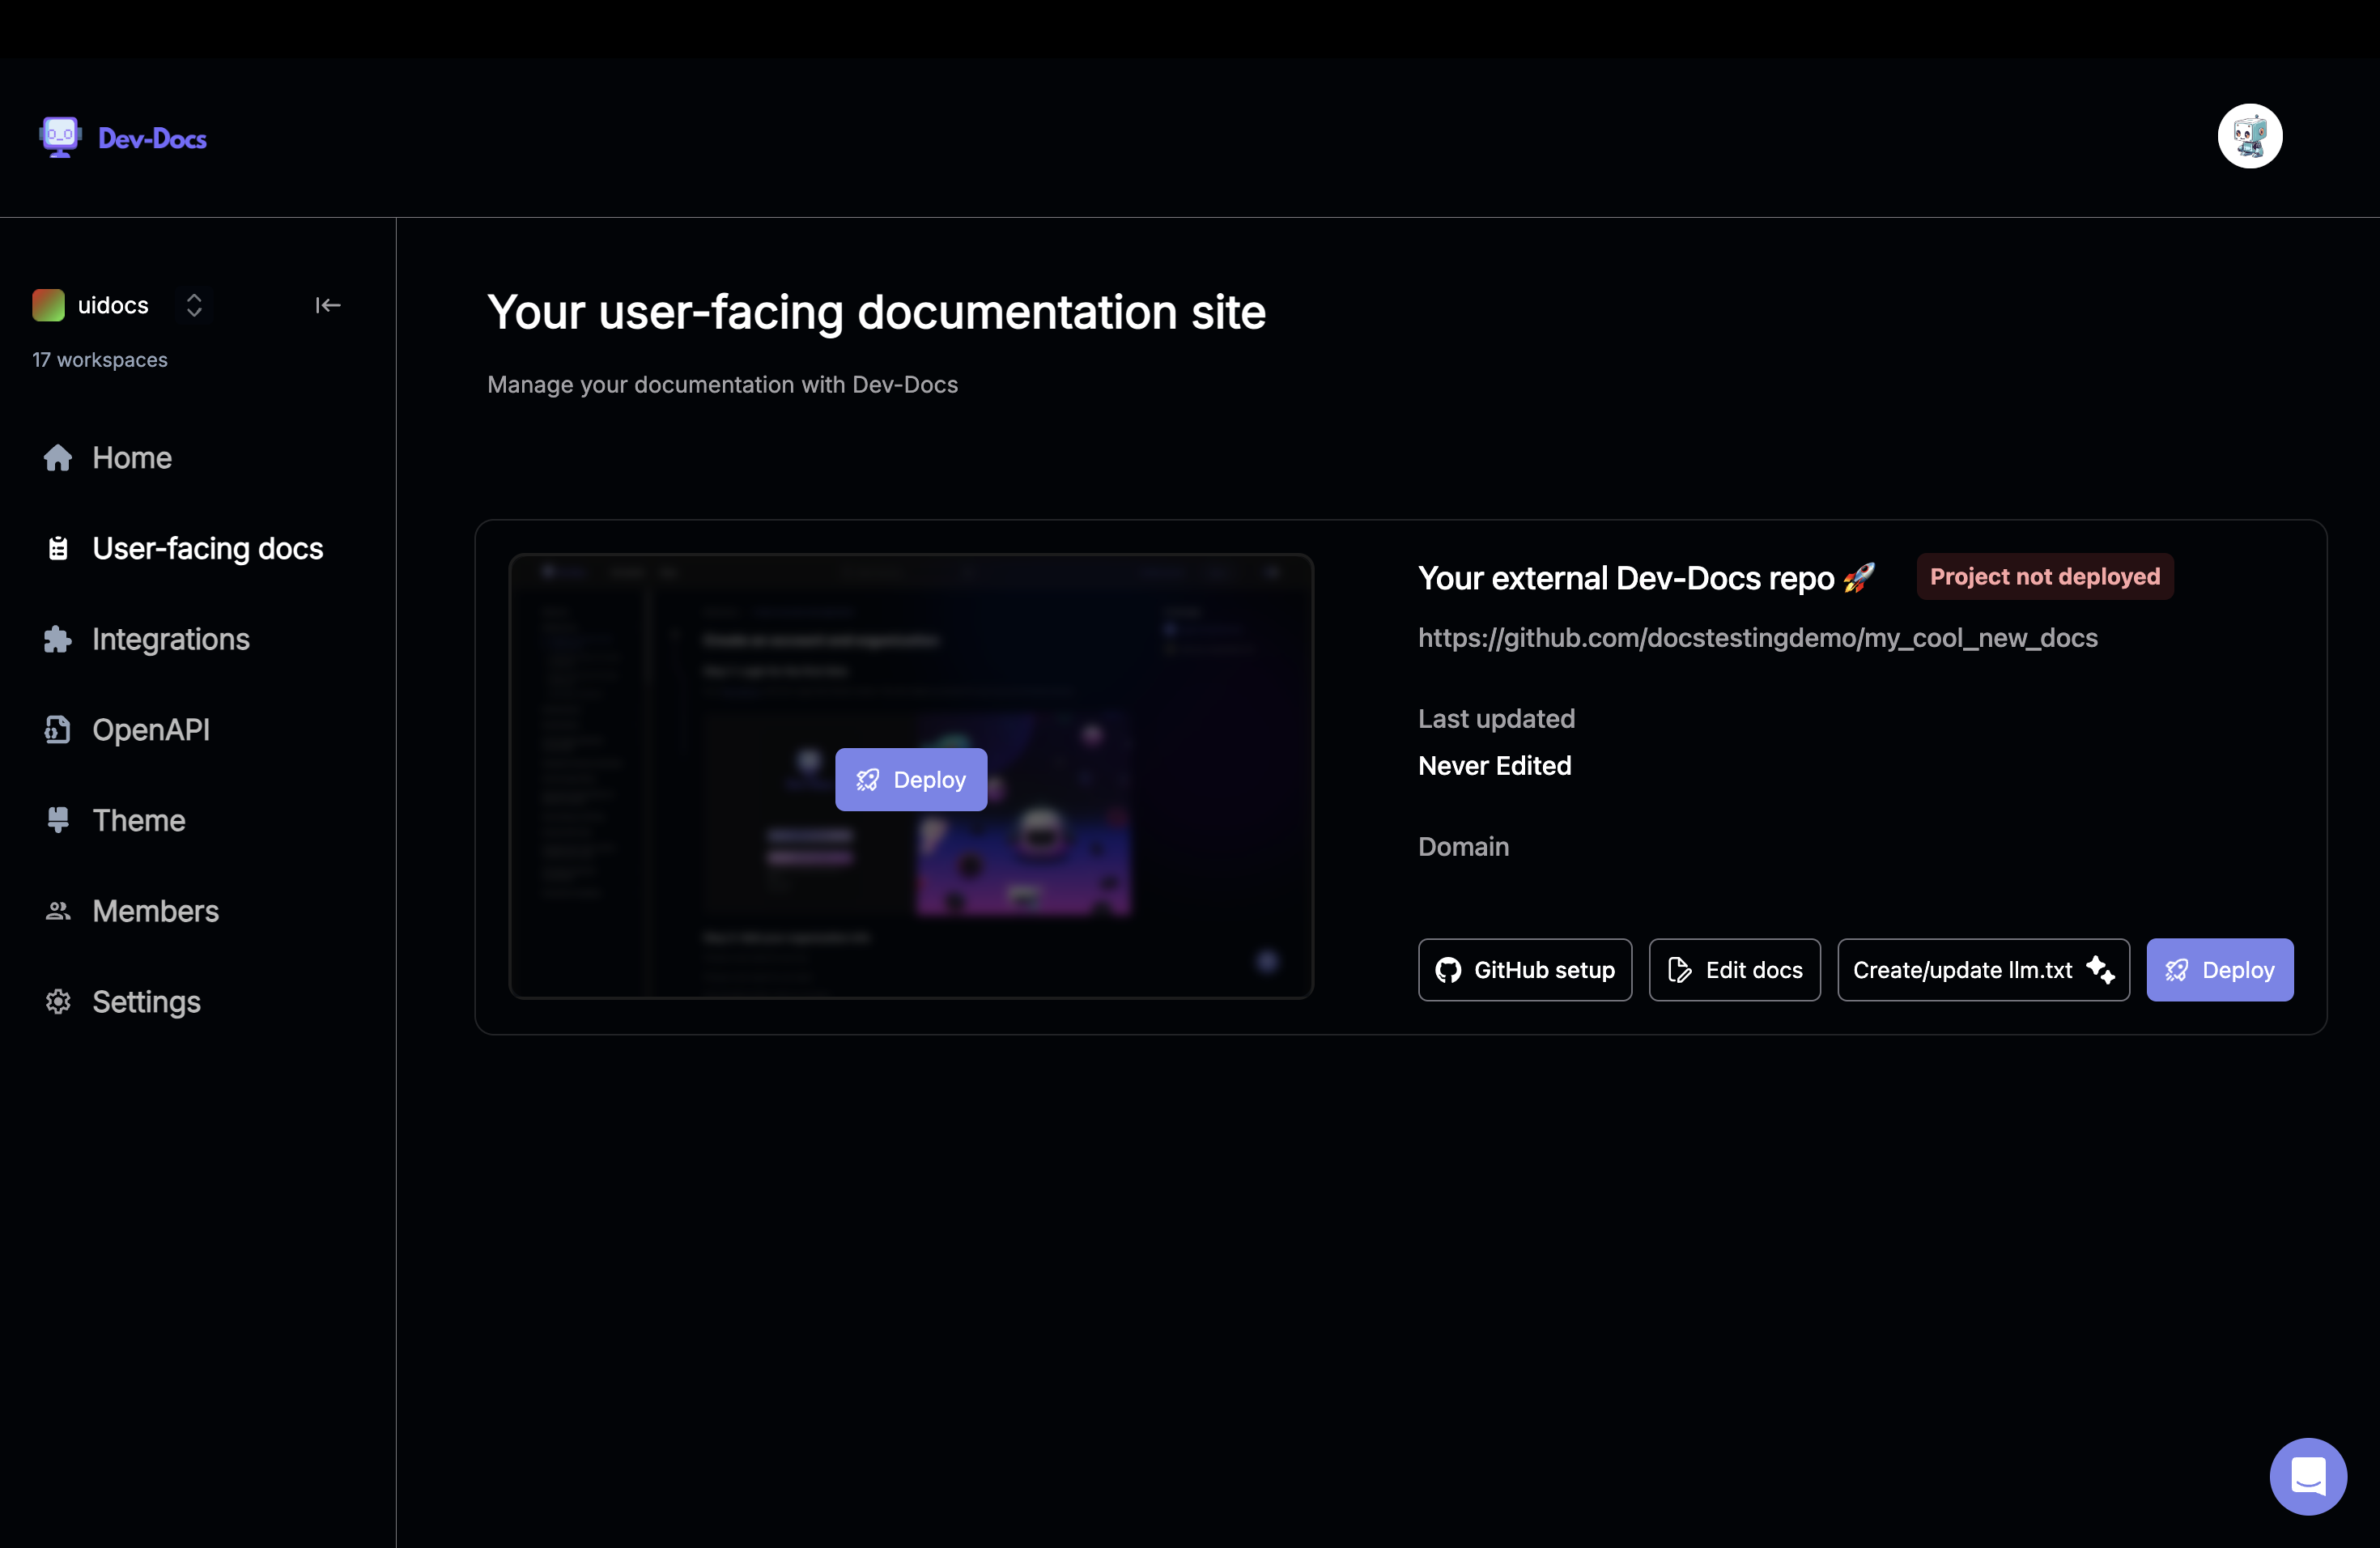
You'll now have access to the AI-powered editor interface where you can start creating and editing your documentation efficiently.
Step 9: Push changes to GitHub and review
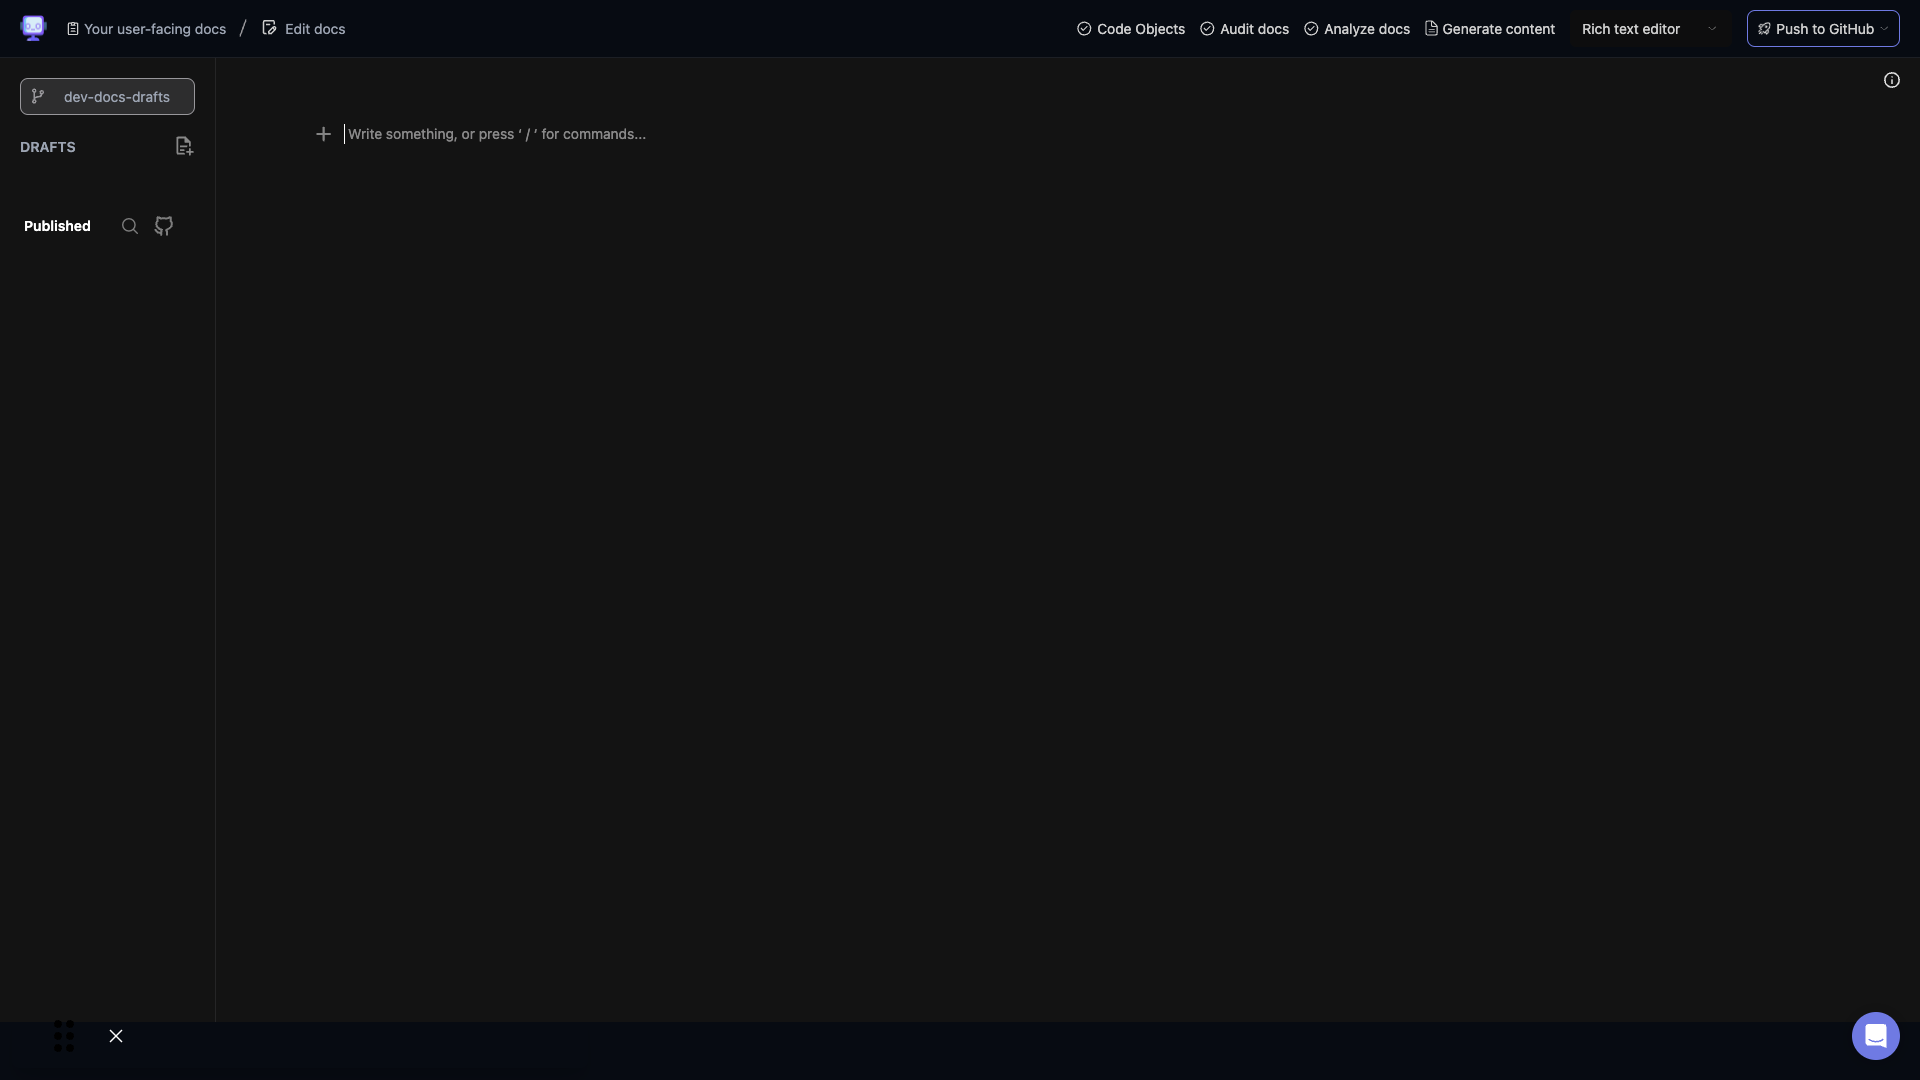
After making changes in the AI editor, you can push your updates to GitHub. Be sure to review the changes in your repository to ensure everything is correct before merging.
Step 10: Collaborate and iterate
With your documentation now connected to the AI editor and GitHub, you can easily collaborate with your team. Invite team members to contribute, review changes, and continuously improve your documentation using the powerful features of both Dev-Docs and GitHub.
